Access and pricing
Design, preview and download the box for free. No account or credits are required.
Design a box around the things you want to carry. Set the inside dimensions, choose a surface pattern and see how the lid, pin and retaining clip fit together.
On phones and tablets, you can explore the tools and read their guides. Uploading, editing, generating and exporting require a desktop or laptop.
Measure your items along the hinge, front to back and from bottom to top. Allow enough room to lift them out.
One ZIP with four STL files in millimetres: base, lid, hinge pin and retaining clip.
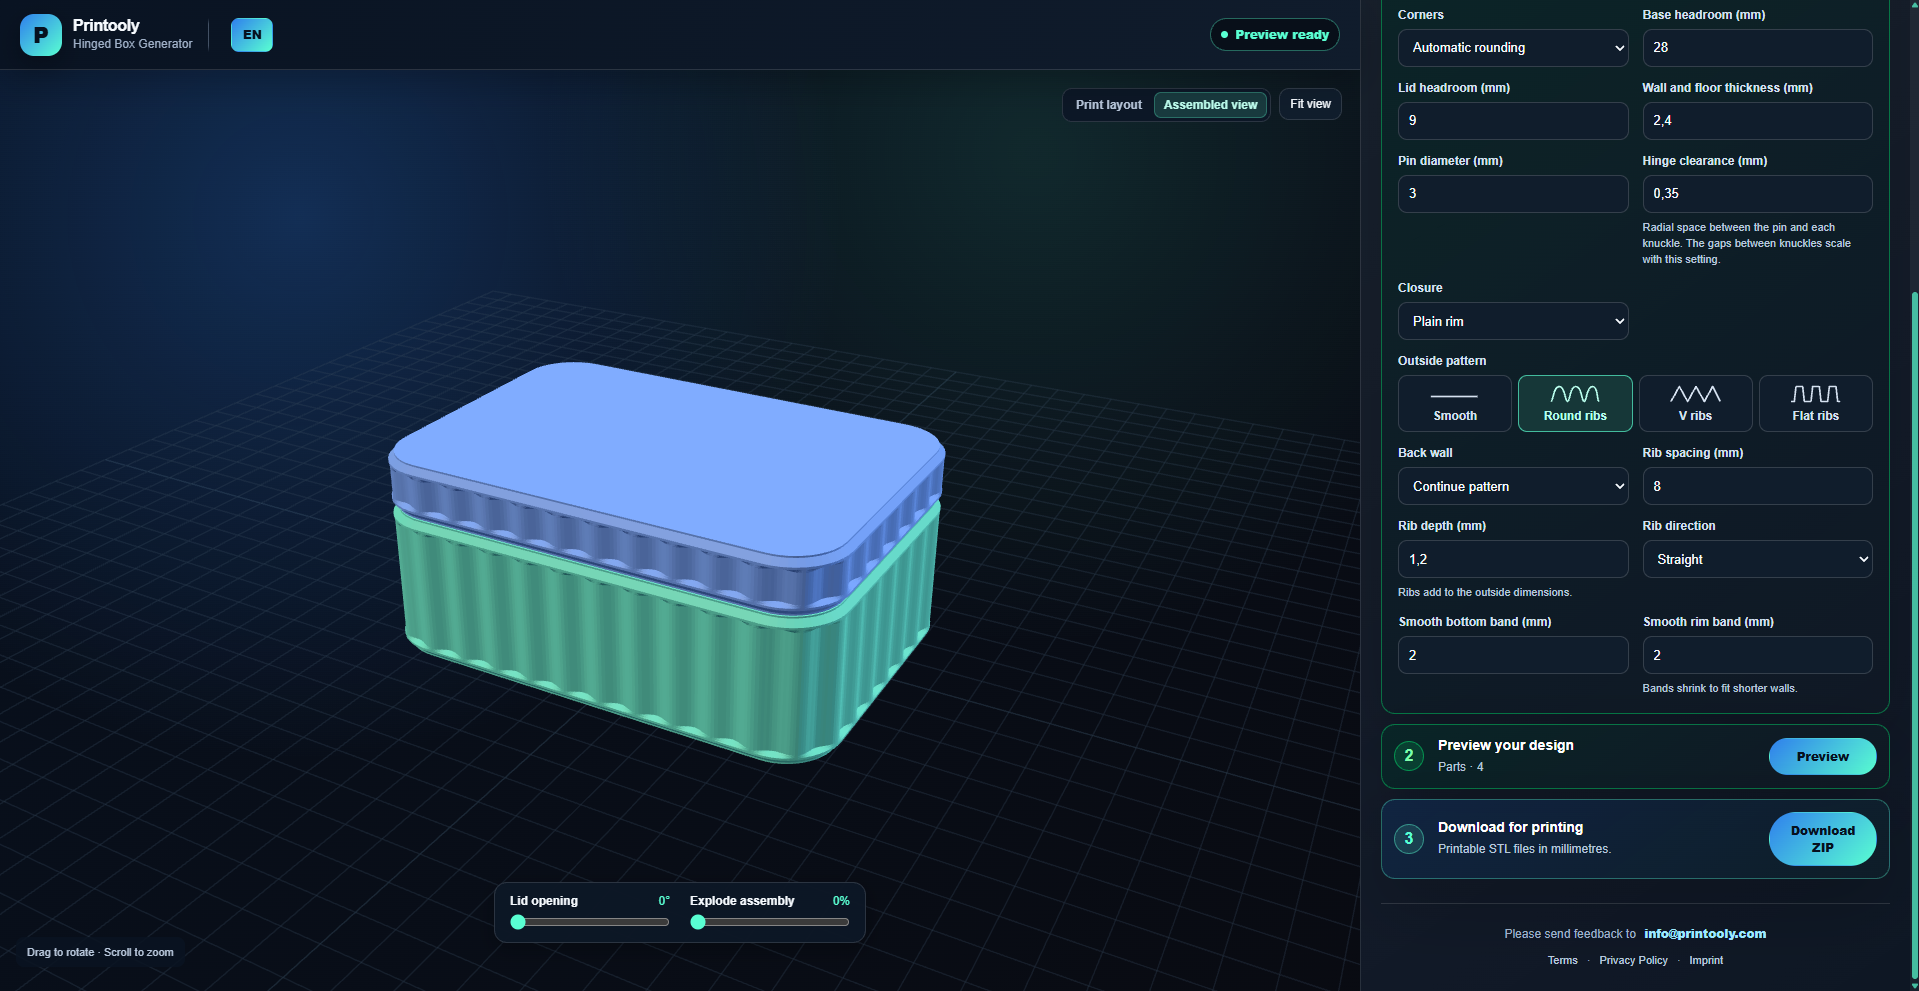
Set the inside width and depth and the headroom in the base and lid. Choose sharp or rounded corners, then a smooth or ribbed finish. With ribs selected you can continue the pattern across the back.
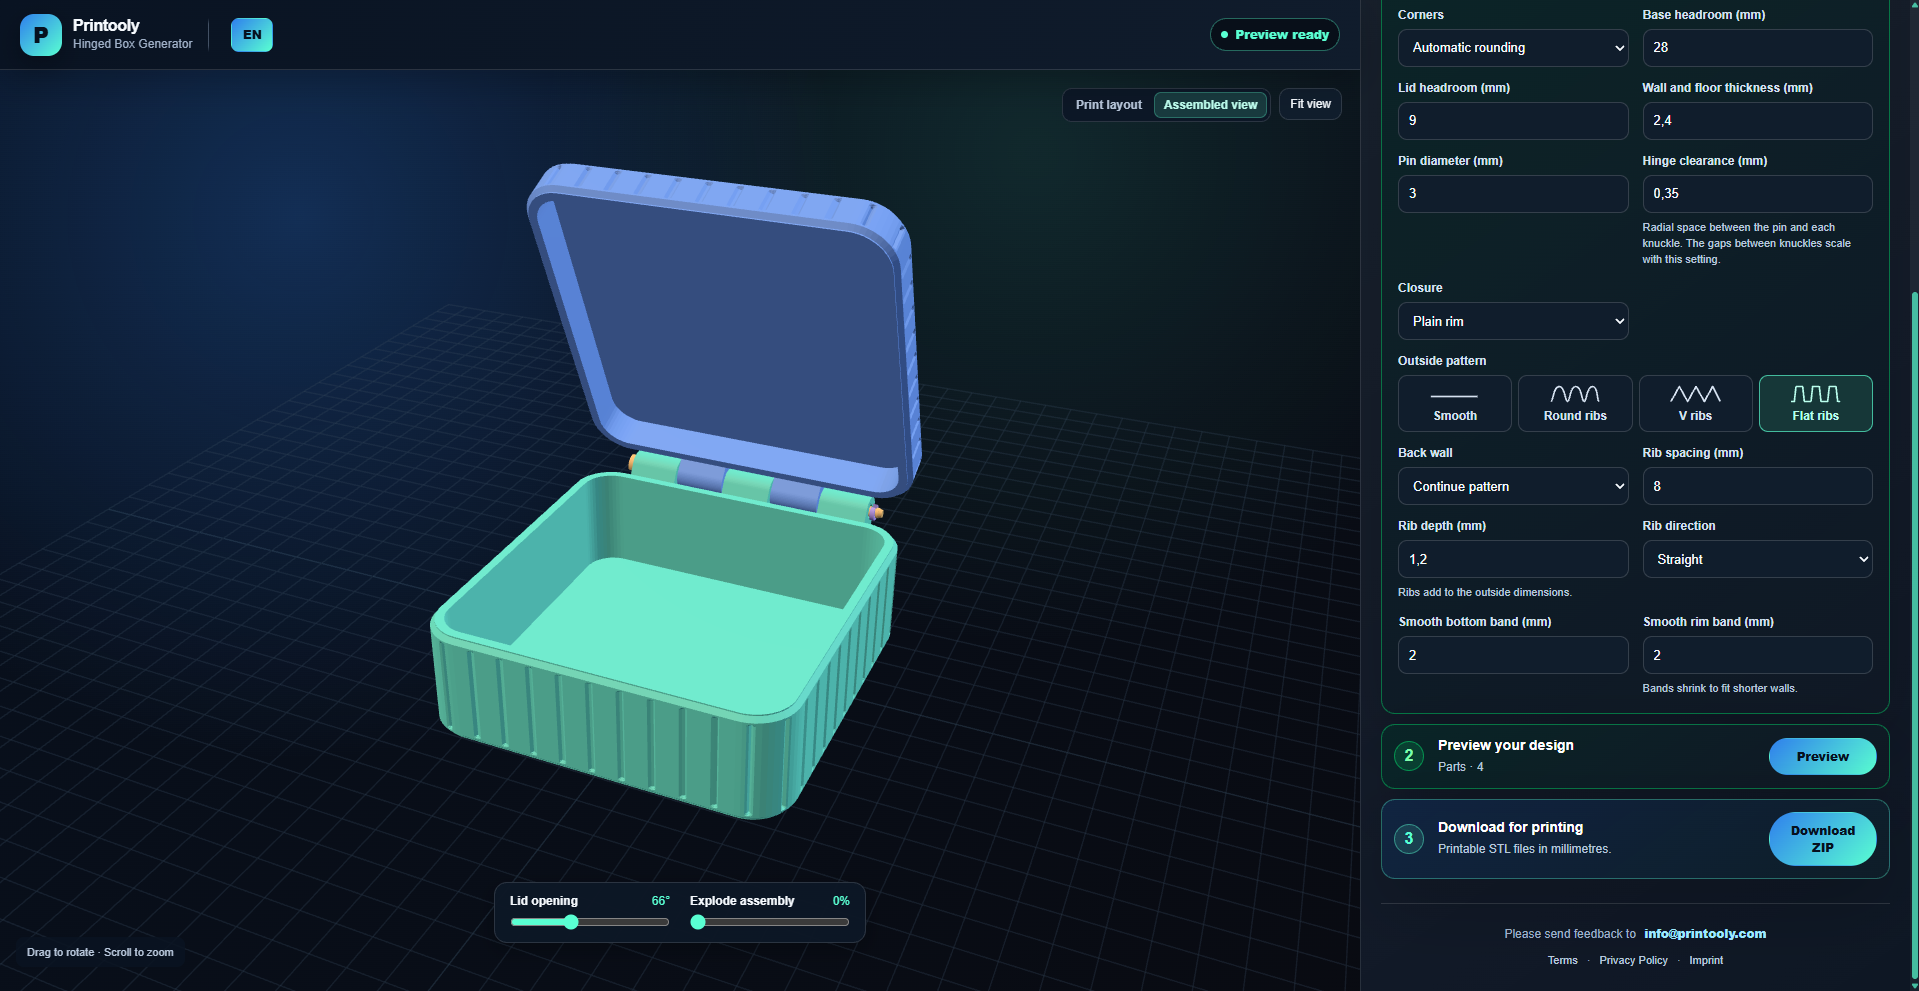
Open Assembled view and move the lid slider. Look inside the box, check the corner shape and see where the lid meets the rim.
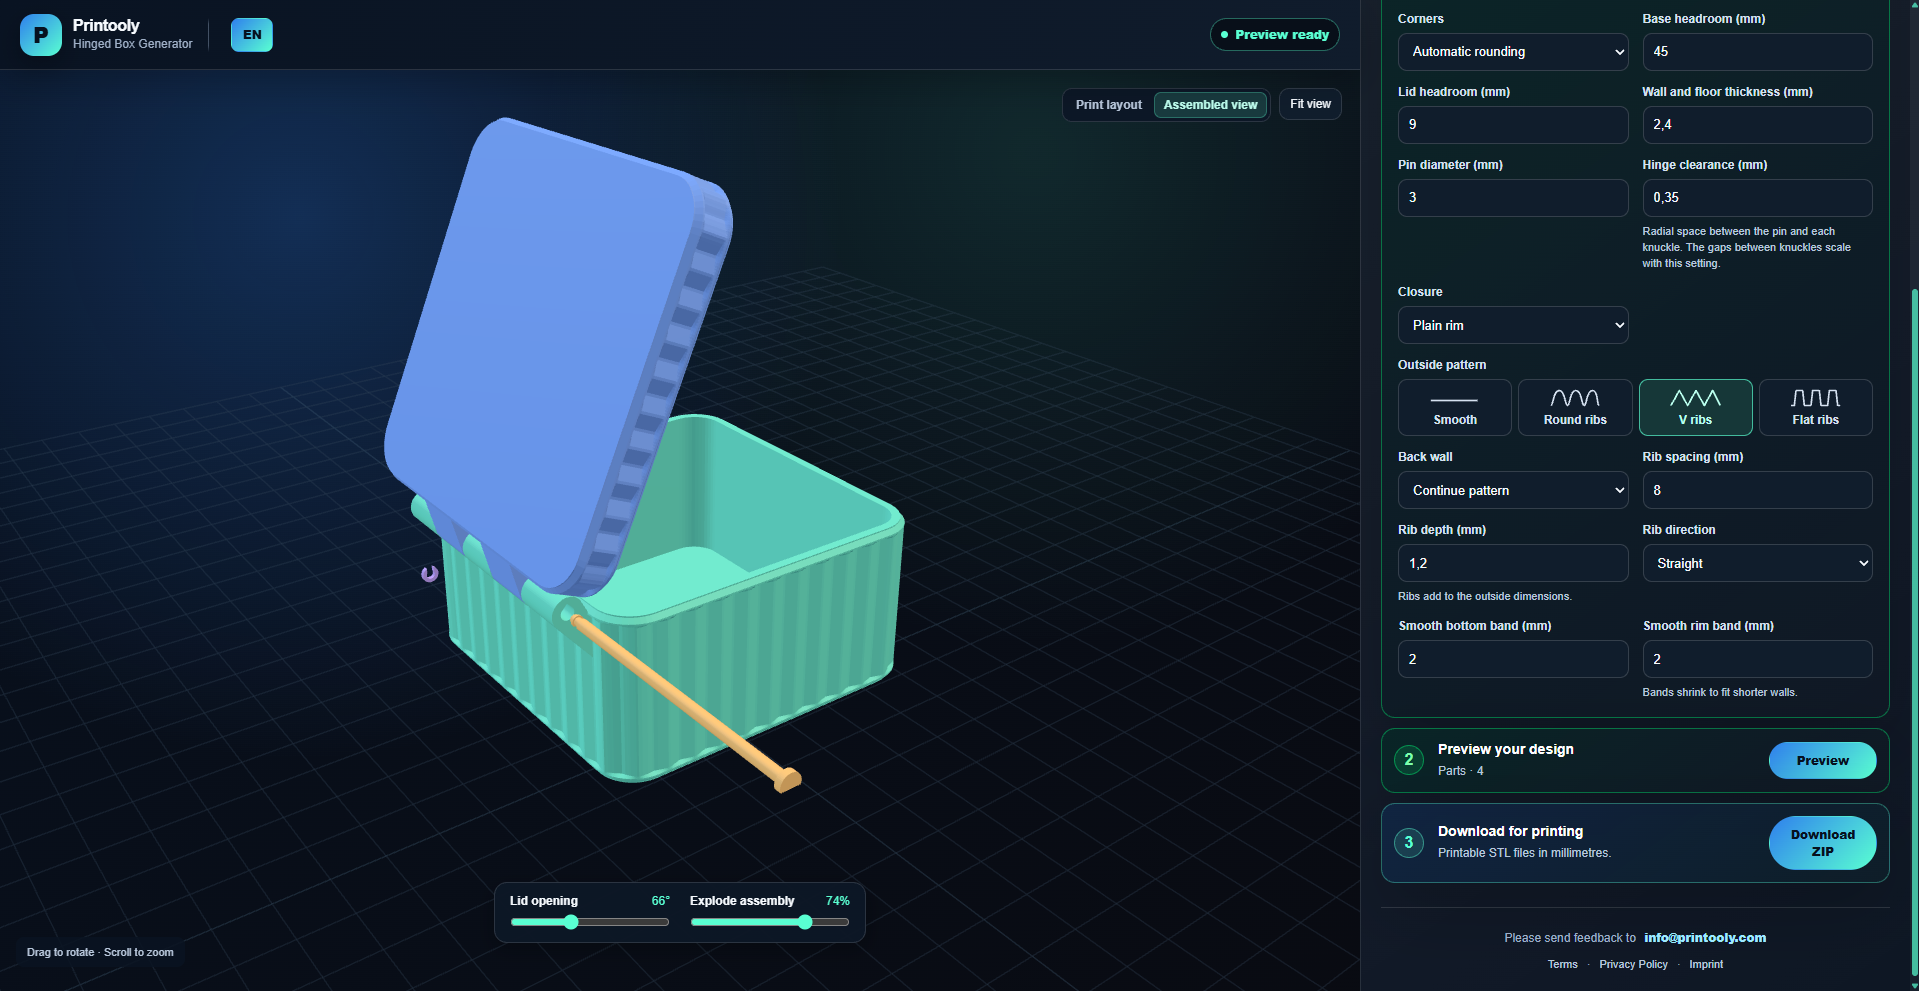
Move the Explode slider to see how the clip comes off, the pin slides out along the hinge and the lid separates. Move it back to see how to put the parts together.
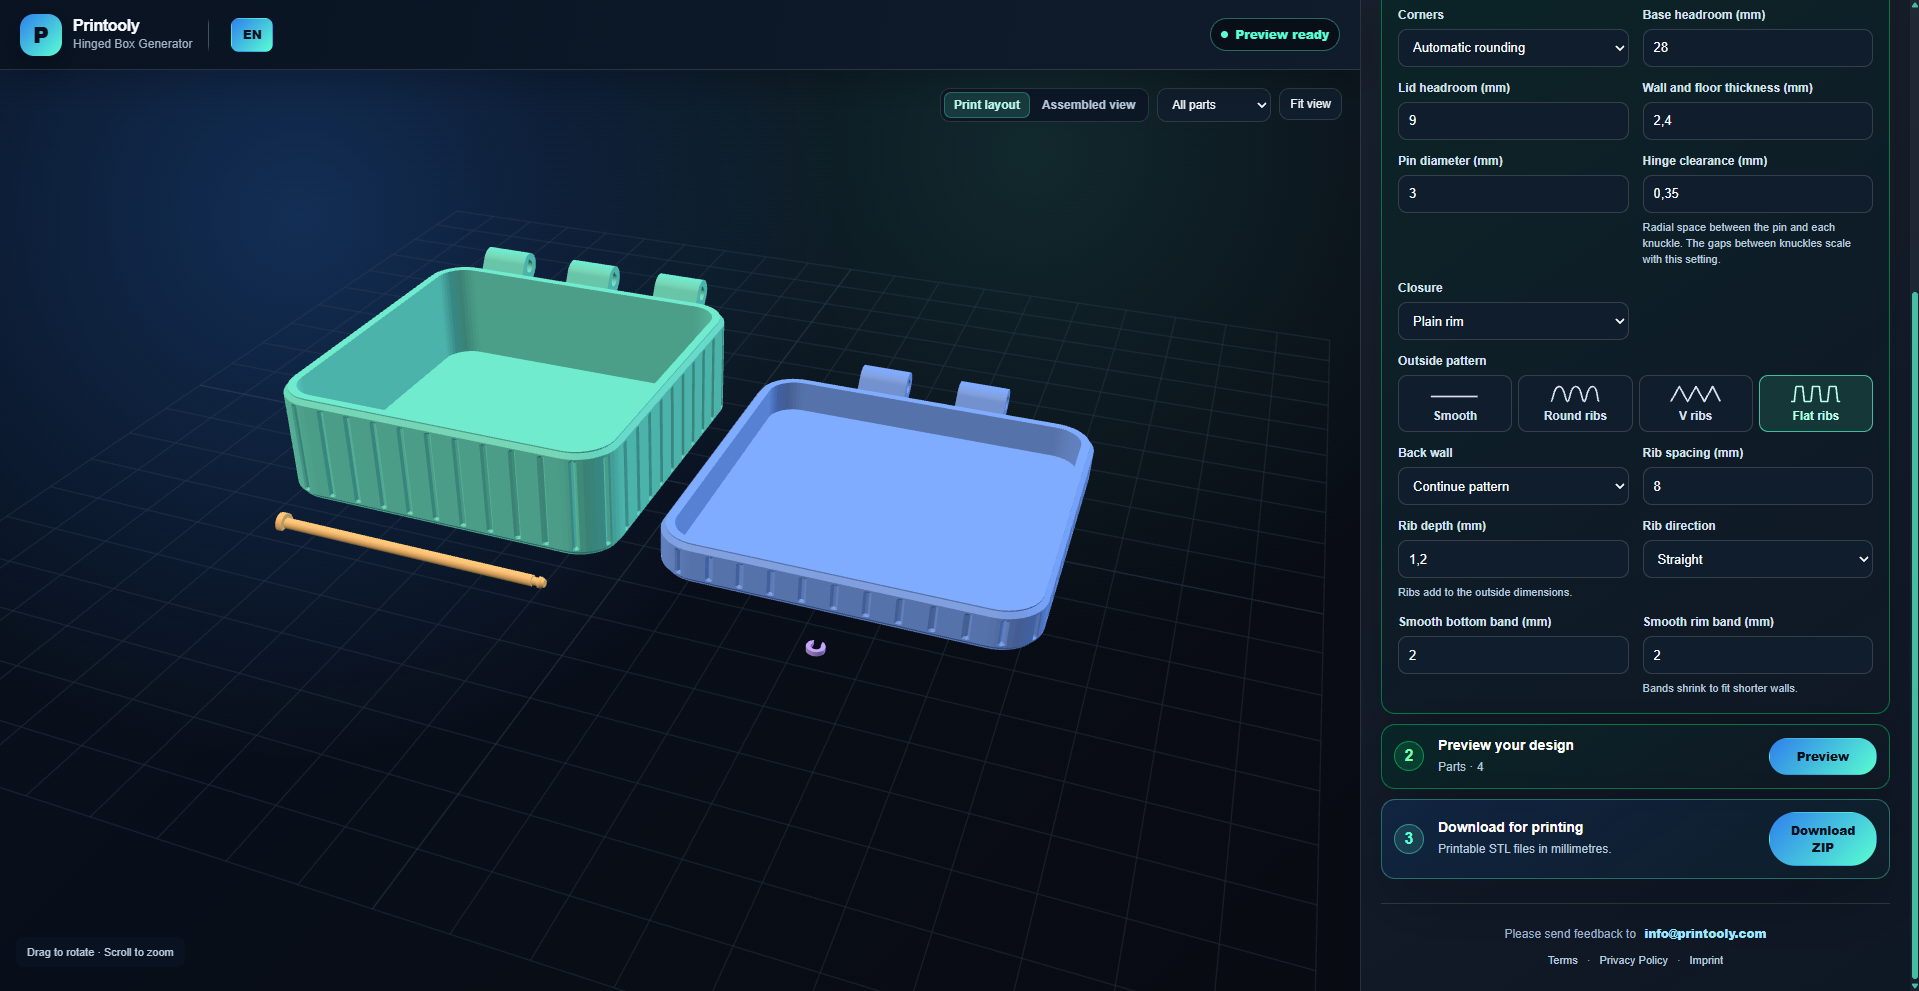
Switch to Print layout to see the four separate pieces. Download the ZIP and open the STLs in your slicer. Print the base and lid with the cavities facing up.
Design, preview and download the box for free. No account or credits are required.
Slide the pin through the five interlocking hinge knuckles, then press the clip sideways into the groove. For the optional magnetic closure, test the polarity of four 6 × 2 mm disc magnets before gluing them in.
MORE TO EXPLORE
READY WHEN YOU ARE
Save this link and open the tool on a desktop or laptop when you’re ready to create.